Set Entry Conditions
Entry conditions live inside an Indicator node. They define what has to be true in the market before your automated trading strategy takes any action. This page covers how to add trading indicator conditions, combine them with logical operators, and what market data feeds you can use.
One Indicator node watches one condition set and acts once. A strategy that should both buy on one signal and sell on another needs two Indicators, each feeding its own Order. To stack conditions for a single entry, combine them inside the same Indicator with AND / OR / NOT.
Open the Indicator settings
Click an Indicator node on the canvas (or the toolbox icon on the node) to open its settings panel on the left. This is where you add, edit, and combine your conditions.
Add a condition
Inside the settings panel, click the metrics you want to use. Each one you select appears inside the Indicator node on the canvas.
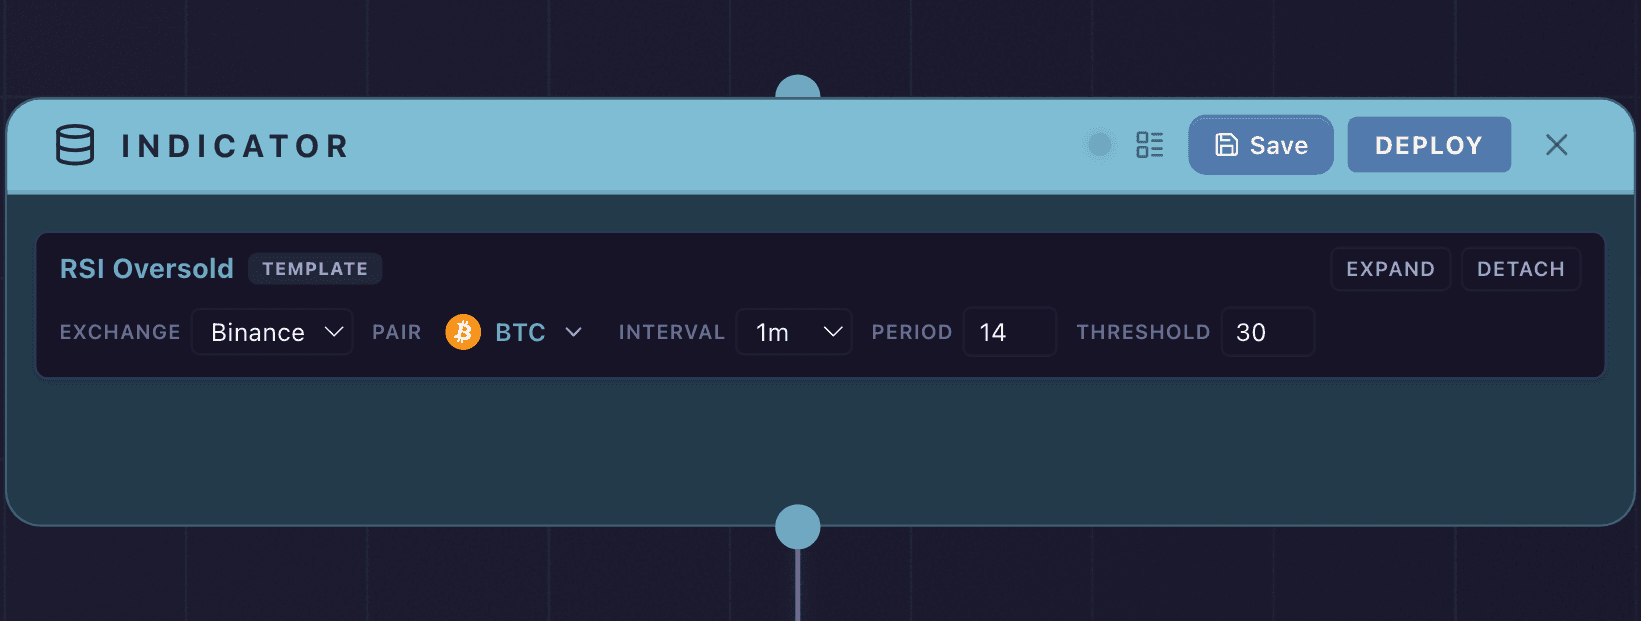
An Indicator node: two EMA conditions and an RSI filter joined with AND. The block palette sits on the left.
A condition is built from three kinds of block:
- Data feed: the live market data point to watch, the raw input. The feeds you can use are listed under Available data feeds below.
- Aggregator: a transform you wrap around a feed, such as EMA, SMA, RSI, or % Change, shaping the feed into a derived value. See the Aggregators and Operators reference.
- Operator: how you compare the result: greater than, less than, or the
≥/≤thresholds, joined with AND / OR / NOT.
For an aggregator like EMA or RSI, you also set a period (number of candles) or a time window.
Available data feeds
A few feeds you will reach for often:
- Mark price: the reference price the exchange uses to value a position and decide liquidations. A smoothed “fair” price, steadier than the last trade.
- Index price: the underlying spot reference price for the asset, tracked independently of the perpetual’s own order book. It anchors the perp to spot rather than to its own last trade.
- VWAP: the volume-weighted average price, the average trade price weighted by how much size printed at each level, so heavy prints pull it more than thin ones. Rolling VWAP recomputes over a moving window, Fixed VWAP anchors from a start point you set.
- Candle (OHLCV): a price bar for a time interval, holding the Open, High, Low, and Close prices plus the Volume traded. A condition can read any one of those values.
- Best bid: the highest price a buyer is currently willing to pay (and best offer, the lowest a seller will accept). The gap between them is the spread.
- Funding rate: the periodic payment that passes between long and short traders on a perpetual, which keeps its price tethered to spot. A positive rate means longs pay shorts.
The full set you can read live inside a condition:
- Price: Mark Price, Index Price, Rolling VWAP, Fixed VWAP
- Candle (OHLCV): Close, Open, High, Low, Asset Volume, Quote Volume, at an interval you pick
- Trade: Trade Price, Trade Quantity
- Best Bid/Offer: Bid Price, Bid Quantity, Ask Price, Ask Quantity
- Funding: Funding Rate
- 24h Volume: Volume 24h, Quote Volume 24h
- Open Interest: Open Interest Base, Open Interest Quote
- Time: the current time, for deadline or schedule gates
- Polymarket: prediction-market probabilities (see Polymarket Data)
EMA, SMA, RSI, and % Change are aggregators applied on top of a feed rather than feeds themselves; see Aggregators and Operators. The Data Feeds reference covers each feed in detail.
Combine conditions with logic
When you have more than one condition, you choose how to combine them:
- AND: All conditions must be true at the same time for the node to trigger.
- OR: Any single condition being true is enough.
- NOT: Inverts a condition. The combined result is true when the condition it wraps is false.
- M of N: True when at least M of its child conditions are true, from 3 to 8 conditions in the group. This is a confluence, or voting, condition: act when at least 2 of 3 signals agree, no matter which two. Use it when several independent signals should agree but you don’t want to nest AND/OR by hand.
You can also nest groups. For example: (Condition A AND Condition B) OR Condition C.
Example
Goal: Enter a long when EMA(12) crosses above EMA(24) and RSI(14) is below 30.
Configuration:
- Add condition: EMA period 12 > EMA period 24
- Add condition: RSI period 14 < 30
- Set combinator to AND
When both are true, the Indicator passes control to the next node.
The > operator stays true the whole time EMA(12) sits above EMA(24), not only at the instant they cross. To act on the crossing itself, the moment the fast average moves above the slow one, start from the EMA Crossover template in the template library rather than a bare > (use SMA Crossover for simple moving averages). The template builds the cross condition for you.